UNBEARABLE Bear
Here is a 5 step guide to making your own stuffed bear, rabbit or whatever. This project is the first part in a bigger project I am trying to finish. What that means to you is that there will be a part two, three and possibly a part four to these instructions.
Supplies
- Scissors
- Chalk
- Sewing machine
- Thread
- Pins
- Sewing needle
- Stuffing
- Hope
Construction
 The first step is to pick a fabric. I happen to have a lot of fabrics lying around my house and I choose a 100% cotton fat quarter that wasn’t being used for anything else. I used my chalk to draw out the shape i wanted the creature to be. I choose a bear since it is a fairly simple shape though sewing on the curves can be a little tricky. Another thing to keep in mind when drawing your creature on the fabric is that you need to draw it at least 1/2” bigger then you want the finished product to be, this allows for the seam as well as allowing you a little wiggle room. Trust me when I say that there is nothing worse then making your pattern to small.
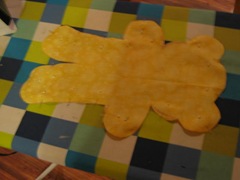 The second step is to carfully cut out your pattern. Since you need to have two pieces to sew together, make sure are cutting two pieces at the same time. That way they are the same size and any errors on one are the same on the other. Once your pattern is cut out place it on a piece of paper and trace it so that you can use it again in the future is you like the pattern.
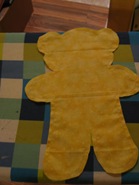 Now it is time to pin the two pieces together. This is done with the fabric right side together. Right side together means that the pretty sides of the fabric are facing one another. Doing this allows the pretty side to face out when you turn it right side out. If you can’t tell which side of the fabric is the right side because both sides look the same then it dosen’t matter which on is the right side, just pin them together and you are ready for step 4.
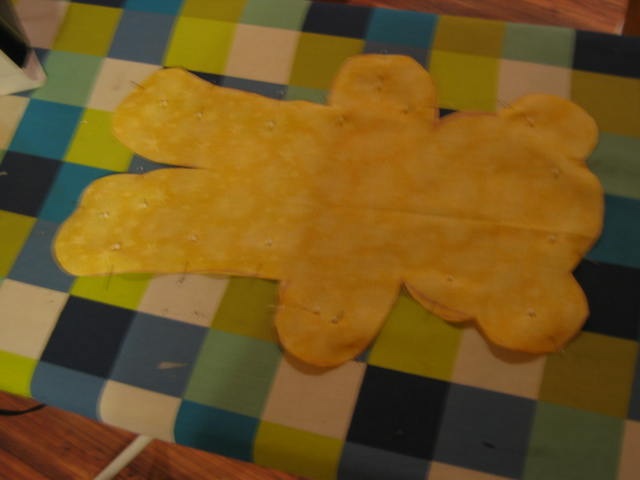
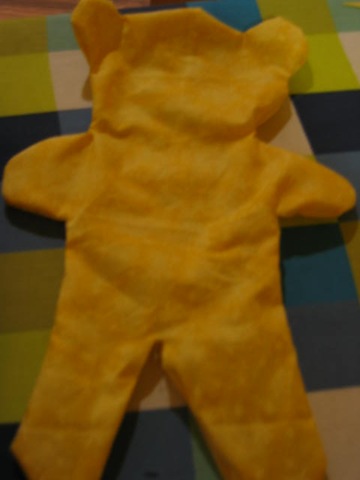
- As you can see from the picture above I was very careful to sew exactly a 1/4”
 seam. This will make this bear very full bodied and great to hug. If this is your first time using a sewing machine, be carful!, I don’t want any injuries because of this blog. Remember to go slow and steady, make sure you backstitch and don’t sew all the way around. You need to leave an opening to stuff the bear. I left about three inches in the crotch area for stuffing.
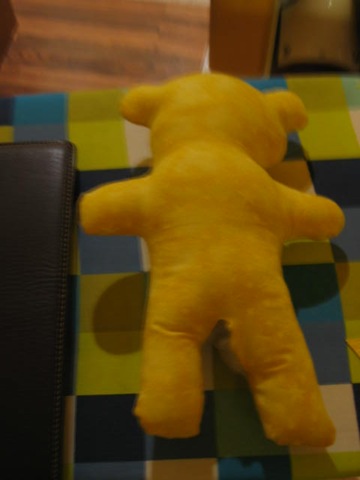
- The next part can be difficult or it can be easy depending on how you approach it. Turning your sewn bear rightside out is a methodical process and needs to be done in such a way that it looks nice. I am kidding this is really the easiest step. Stuff everything through the stuffing hole so you end up with a empty bear skin. I suggest ironing your bear skin flat so that you don’t have any wrinkles when you start stuffing.
 The final step for today is stuffing. You do need to plan this step out a little bit. It is important to start as far from your stuffing hole as possible. In my exemple I started by stuffing the ears, once those where stuffed to a satisfactory level I moved on to stuff the head and just kept moving down from there. Always stuff the arms before the chest and the legs before the belly. Once you are done stuffing use your sewing needle and thread to close up the stuff whole.


There you go, the beginning of an Unbearable Bear. I will try to get part to up soon. keep working a put any questions in the comments section and I will do my best to answer them.